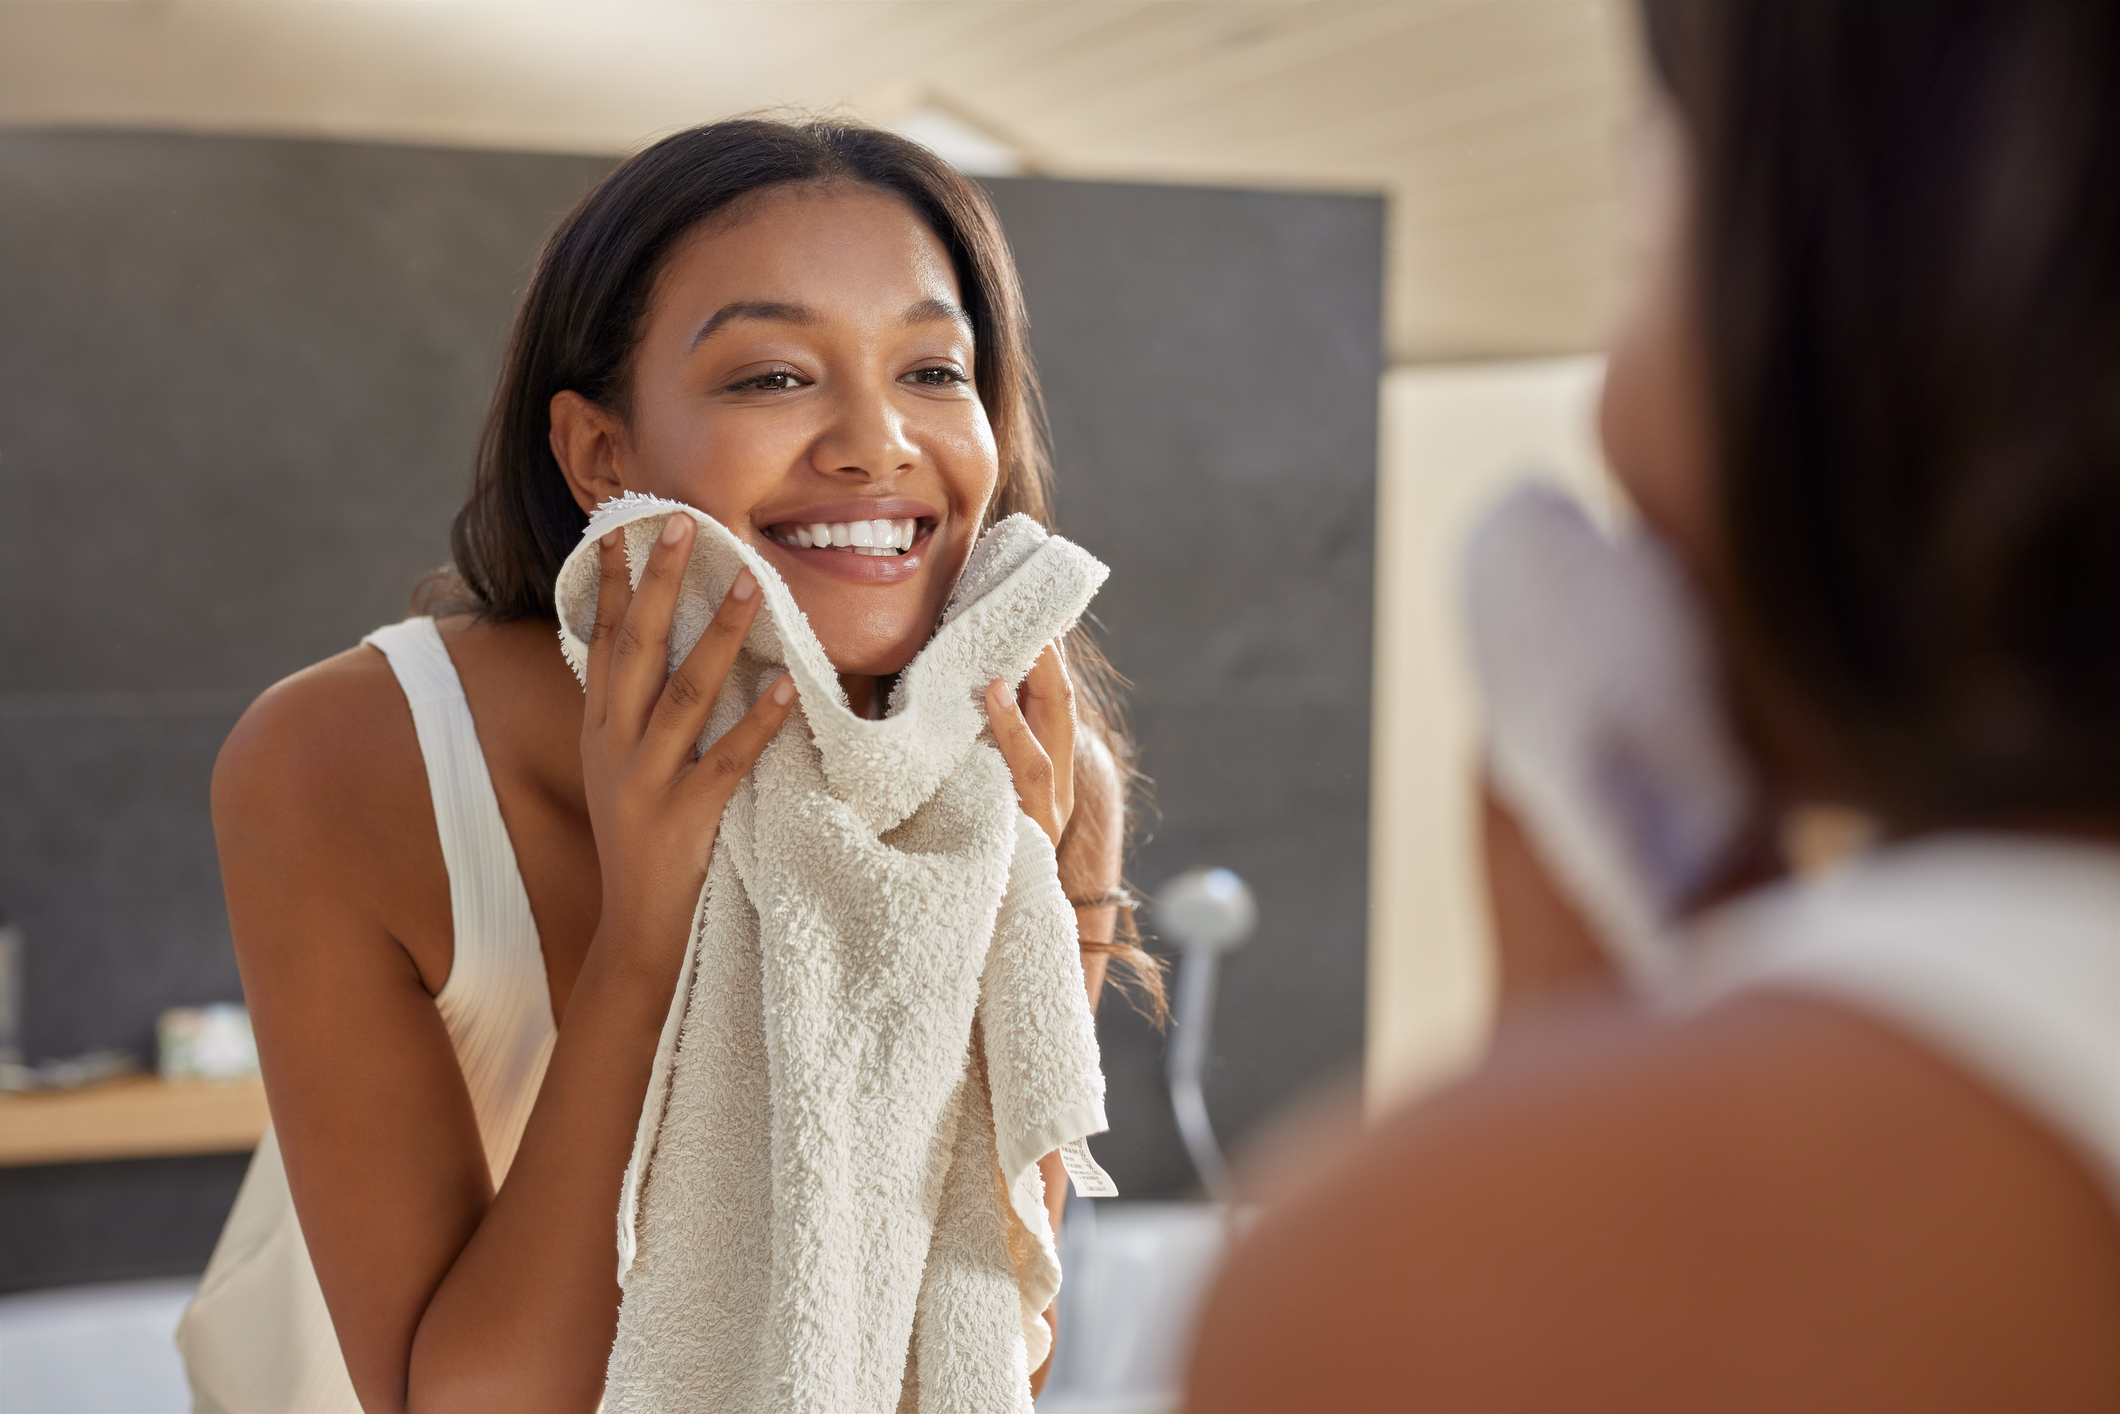
Skin Prep Before Makeup

Cleanse thoroughly, treat with targeted products, moisturize, protect with sunscreen (daytime), and finish with primer. This creates a smooth, hydrated base that helps makeup apply evenly, last longer, and look more natural while reducing caking or emphasis of texture.
Step-by-step skin prep
1. Cleanse
Use a gentle cleanser suited to your skin type to remove dirt, oil, and residue without stripping the barrier. Double-cleanse if you wear sunscreen or heavier products (oil-based cleanser or micellar water first, then water-based). Pat dry—don’t rub. Clean skin lets subsequent products absorb better and prevents makeup from sliding or looking dull.
2. Tone (optional but helpful for many)
Apply a hydrating or balancing toner/essence with hands or a cotton pad. Look for ingredients like hyaluronic acid, glycerin, niacinamide, or centella if your skin is dry, combination, or acne-prone. Skip harsh alcohol-based toners that can irritate or dry the skin.
3. Treat with serums or actives
Layer lightweight treatments while skin is still slightly damp:
Hydration: hyaluronic acid, panthenol, or ceramides.
Barrier support or calming: niacinamide, centella, or panthenol.
Targeted concerns (acne, texture, tone): azelaic acid, gentle retinoids (at night), or vitamin C (morning, if tolerated).
Wait 1–2 minutes between layers so products absorb. Avoid heavy or sticky formulas right before makeup—they can cause pilling.
4. Moisturize
Seal everything in with a moisturizer appropriate for your skin. Lightweight gel or gel-cream for oily/combination; richer cream for dry or mature skin. Key ingredients often include ceramides, hyaluronic acid, and non-comedogenic oils or emollients. Give it a few minutes to sink in so the surface isn’t tacky.
5. Sunscreen (daytime only)
Apply a broad-spectrum SPF 30+ (or higher) as the last skincare step. Choose a formula that works under makeup—many prefer lightweight, matte, or hybrid mineral/chemical options that don’t leave a white cast or heavy feel. Let it set fully (a few minutes) before moving on. Sunscreen is non-negotiable for daytime wear.
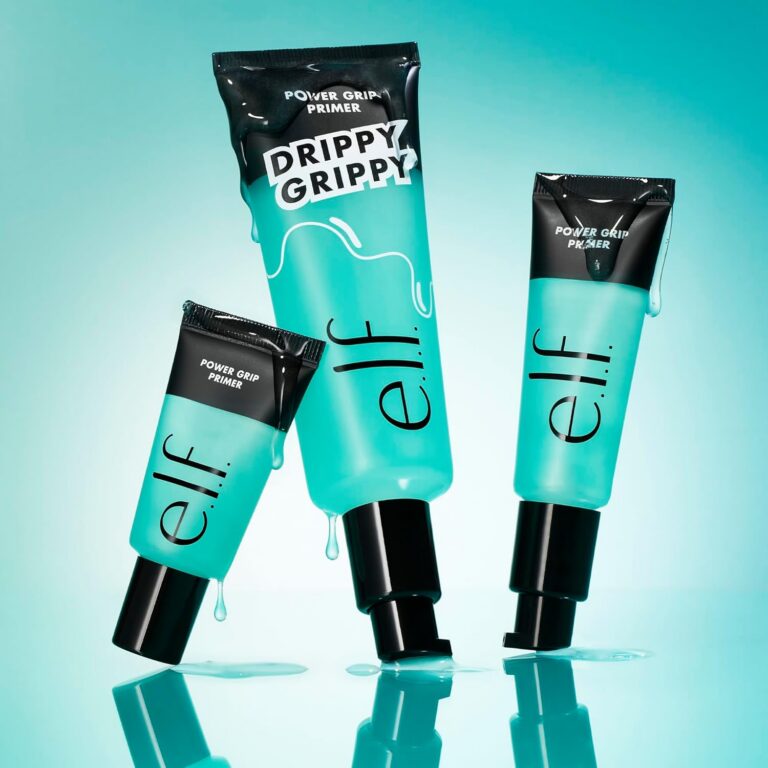
6. Primer (optional but useful)
Once skincare has fully absorbed, apply a thin layer of primer matched to your needs:
- Hydrating or blurring for dry/textured skin.
- Mattifying or pore-minimizing for oily/combination.
- Color-correcting if you have redness or dullness.
- Focus on areas where makeup tends to settle or fade. Some people skip primer if their moisturizer + sunscreen already creates a good base.
Extra tips for better results
- Wait times matter: Rushing leads to pilling or patchy makeup. Allow each layer (especially moisturizer and sunscreen) a few minutes.
- Skin type adjustments: Oily or acne-prone skin benefits from lighter textures and niacinamide; dry or barrier-compromised skin needs more ceramides and occlusives. Sensitive skin does best with fragrance-free, minimal-ingredient products.
- Night vs. day: Evening prep can include stronger actives (retinoids, higher-strength acids) since you won’t wear makeup immediately after. Morning focuses on hydration + protection.
- Tools: Clean hands, a damp beauty sponge, or clean brushes help with even application. Avoid overloading product.
- Consistency: Regular gentle cleansing, moisturizing, and barrier support improve how makeup sits over time more than any single “prep” product.
If your skin is particularly dry, oily, acne-prone, or reactive, tailor the actives and textures accordingly. Proper prep usually makes a bigger difference in finish and longevity than the makeup itself.