Makeup Tutorial for Mature Skin

Makeup tutorial for mature skin focuses on hydration, luminosity, soft definition, and a light hand so product enhances rather than settles into lines or emphasizes texture. The goal is healthy, glowing skin that still looks like skin—sheer-to-medium coverage, cream and liquid formulas over heavy powders, and upward blending for a lifted effect.
1. Skin Prep (the most important step)
Mature skin is often drier and less elastic, so makeup sits best on well-hydrated skin.
- Cleanse gently.
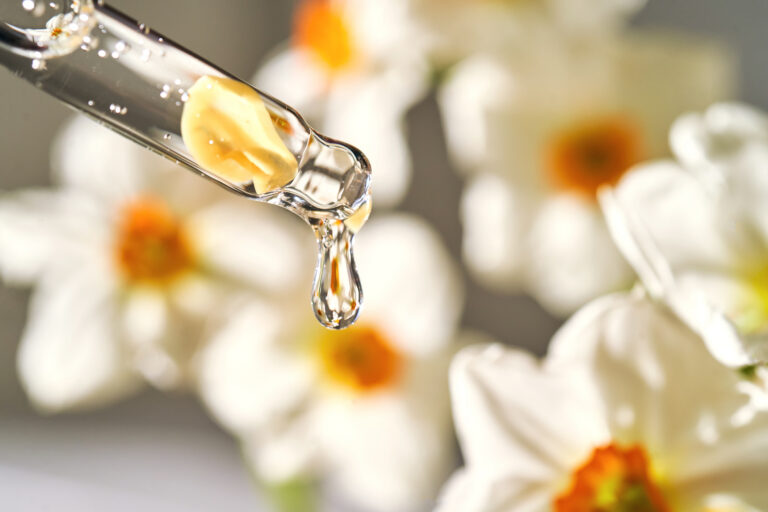
- Apply a hydrating serum (hyaluronic acid or similar) and a rich but non-greasy moisturizer. Let everything absorb for a few minutes.
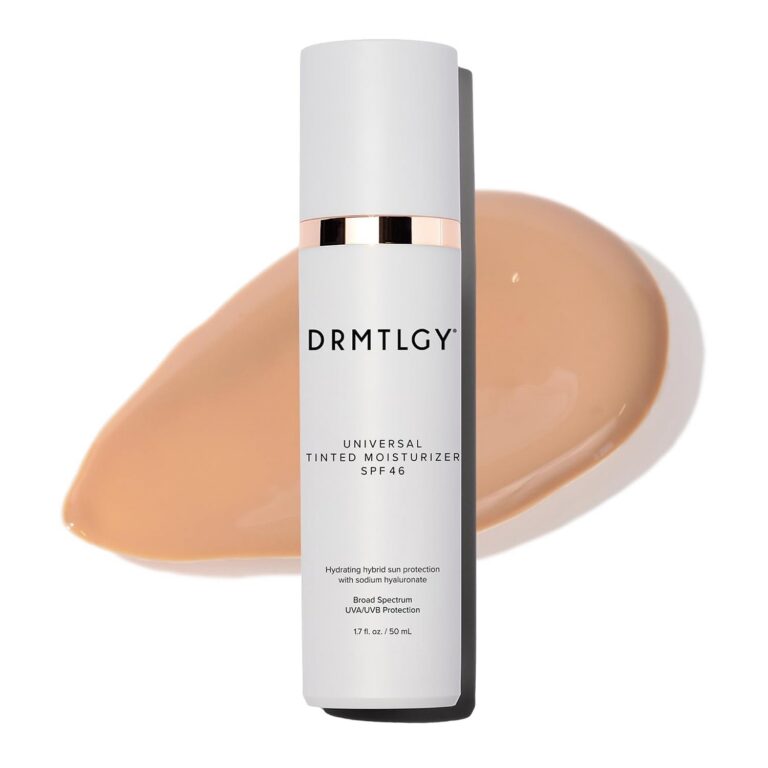
- Finish with broad-spectrum SPF (tinted if you like).
- Optional: a light eye cream.
Proper prep plumps fine lines temporarily and creates a smooth canvas so foundation doesn’t cling or look cakey.
2. Primer (optional but helpful)
Use a hydrating or blurring primer, especially one with flexible film-formers or moisturizing oils/squalane. Focus on areas with texture or where makeup tends to break down. Avoid heavy silicone primers that can pill or emphasize dryness later in the day.
3. Base
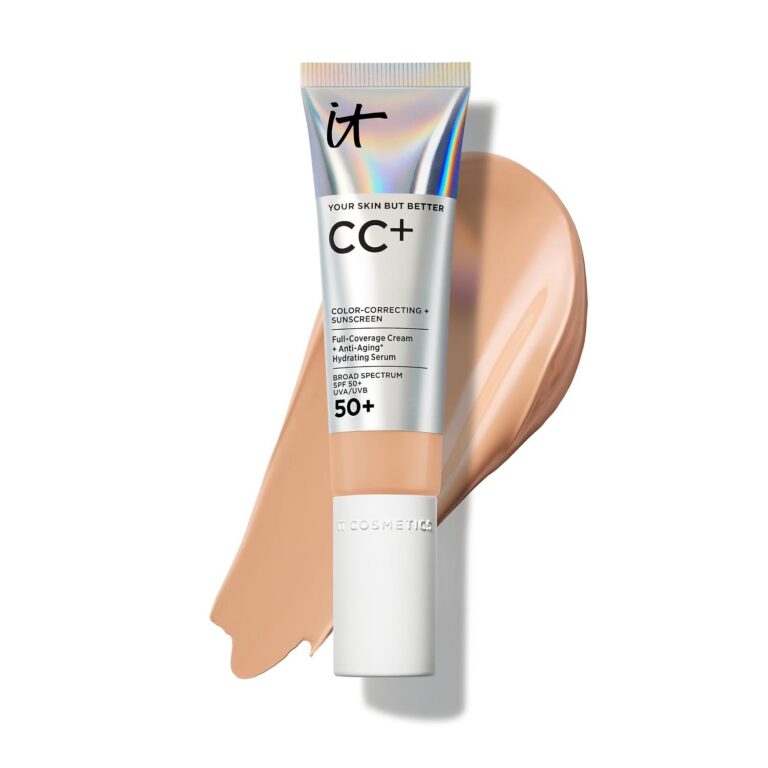
Skip full-coverage matte foundations. Choose a lightweight liquid, serum foundation, tinted moisturizer, or skin tint with a natural satin or luminous finish.
- Dispense a small amount onto the back of your hand.
- Apply with a damp sponge, dense brush, or clean fingers using a stippling/pressing motion rather than rubbing or dragging. Start where you need the most evening (center of face) and blend outward and into the hairline and neck.
- Build in thin layers only where needed. Less product looks more natural and ages better.
4. Concealer
Use a lightweight, hydrating, crease-resistant formula.
- Apply sparingly under the eyes in a soft V or inverted triangle (inner corner toward outer), not a heavy triangle of product.
- Spot-conceal redness or spots elsewhere.
- Blend with a small brush or fingertip and set very lightly (or not at all) if your skin is dry. Heavy under-eye product is a common culprit for creasing.
5. Cream Color for Dimension and Life
Cream or liquid formulas melt into skin and blur texture better than powders.
- Bronzer/contour: Warm, soft cream formula applied lightly under the cheekbones at a slight outward angle, along the jaw if desired, and a touch on the temples or forehead. Blend well and upward. Avoid anything too cool or muddy.
- Blush: Cream or liquid in a soft pink, peach, or rose. Apply to the upper apples of the cheeks and blend upward toward the temples for a lifted look. Placement higher reads more youthful.
- Highlight: Subtle cream or liquid highlighter on the high points (tops of cheekbones, brow bone, inner corners, cupid’s bow). Keep it luminous rather than glittery or frosty so it doesn’t emphasize texture.
6. Brows
Brows frame the face and create lift as they thin with age.
- Use a fine pencil, powder, or tinted gel for soft, hair-like strokes.
- Fill sparse areas and gently extend or lift the tail slightly upward rather than letting it droop.
- Keep the overall look natural and fuller rather than overly arched or harsh.
7. Eyes
Soft definition works better than heavy or sharply cut creases, especially with hooded or textured lids.
- Prime lids lightly if needed (a skin-toned cream or thin layer of concealer set with a touch of powder).
- Use matte or satin neutrals. Apply a soft transition shade in and slightly above the crease while looking down into a mirror so you can see the full lid surface. Blend thoroughly side-to-side and upward.
- A deeper shade can go along the outer lid or lower lash line for definition—keep it diffused.
- Liner: Soft brown, taupe, or charcoal pencil rather than harsh black liquid. Press into the lash line and smudge/soften for a blended look. A nude or beige pencil on the lower waterline can open the eyes.
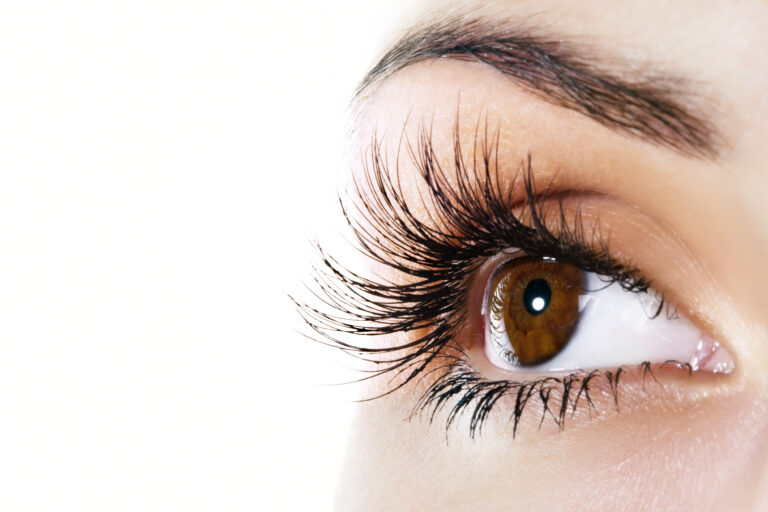
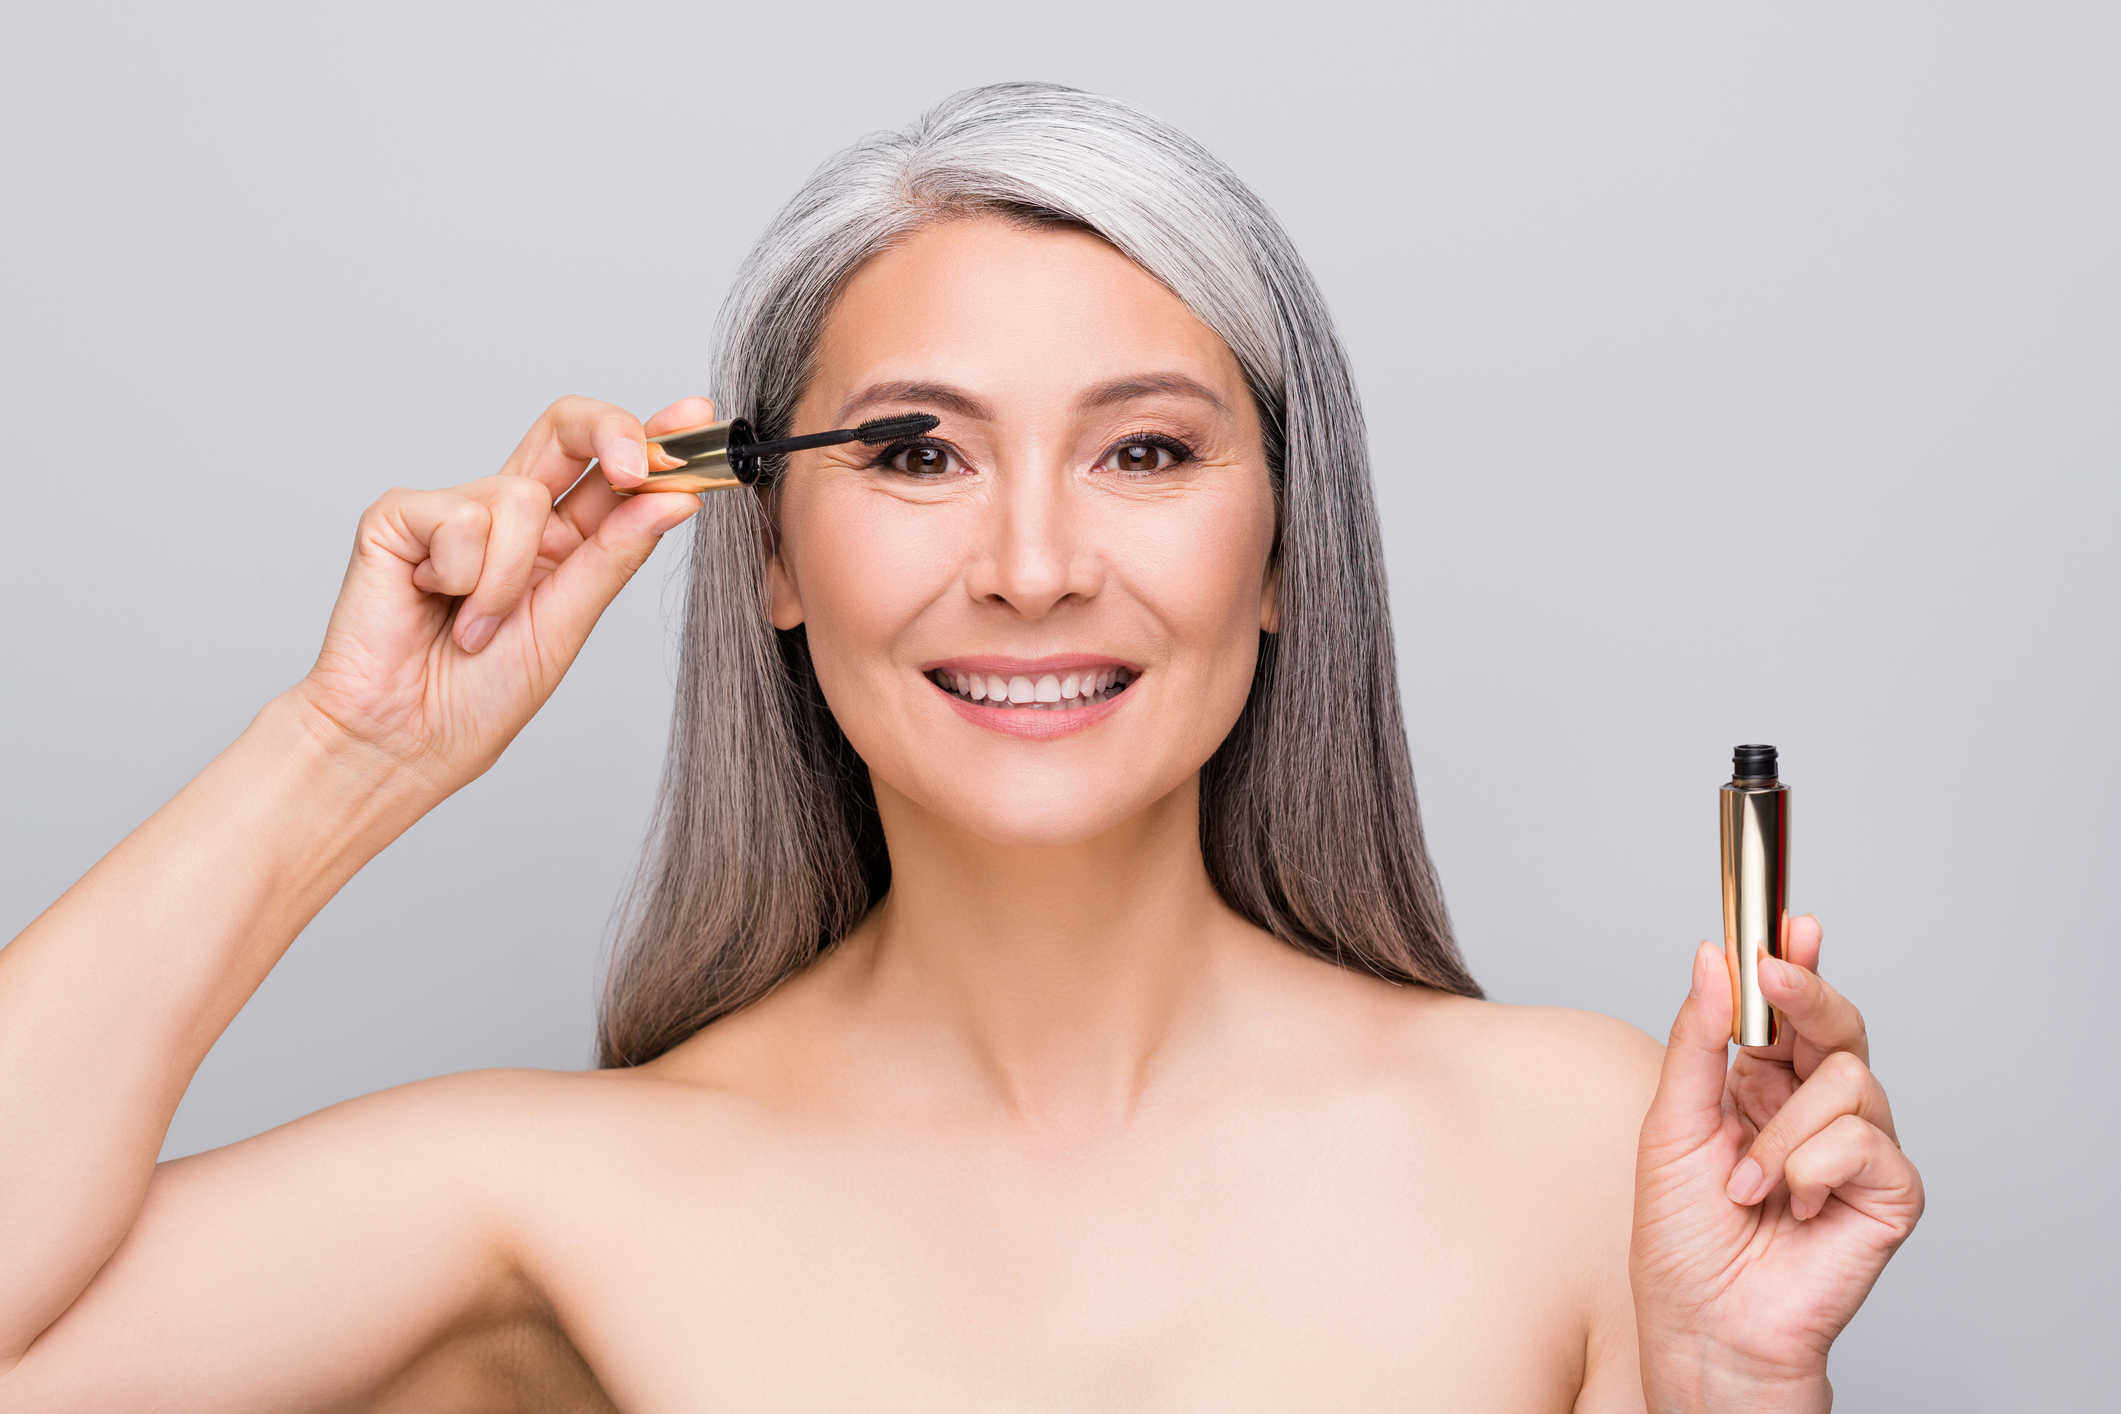
- Mascara: Lengthening or separating formula (tubing mascaras are excellent for longevity and less smudging). Curl lashes first and focus on lifting the outer corners. One or two coats is usually enough.
8. Lips
- Gently exfoliate and hydrate (lip balm or primer).
- Line with a pencil close to your natural lip color (or one shade deeper) to prevent feathering and define the shape. You can slightly overline the cupid’s bow for subtle lift.
- Fill with a creamy lipstick, tinted balm, or lip oil/gloss. Matte formulas can emphasize dryness and lines, so moisturizing finishes are usually more flattering.
9. Setting and Finishing
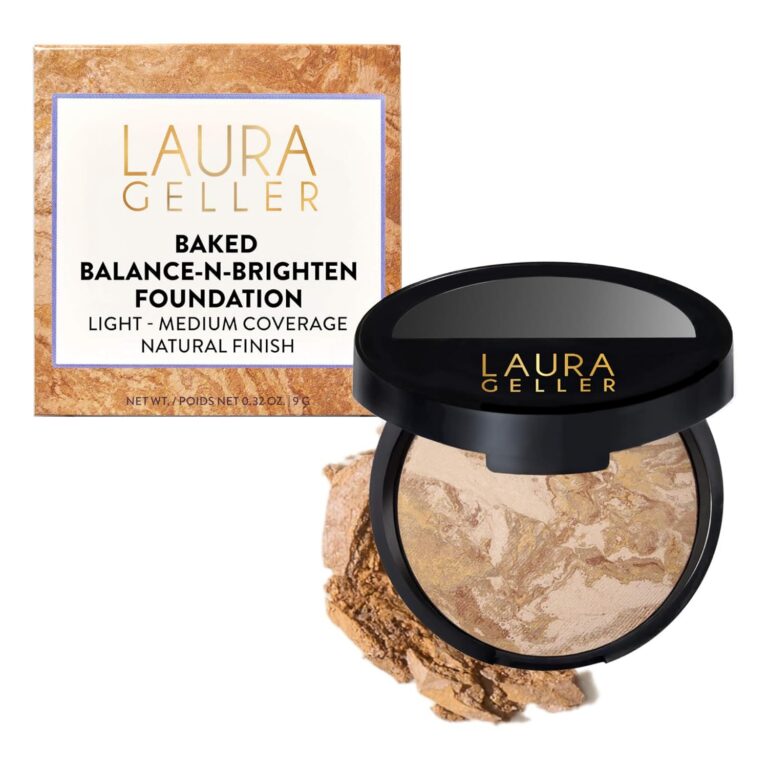
- Use a finely milled, blurring translucent powder only where needed (T-zone, under eyes if concealer tends to crease). Avoid heavy powdering all over—it can look dry and settle into lines.
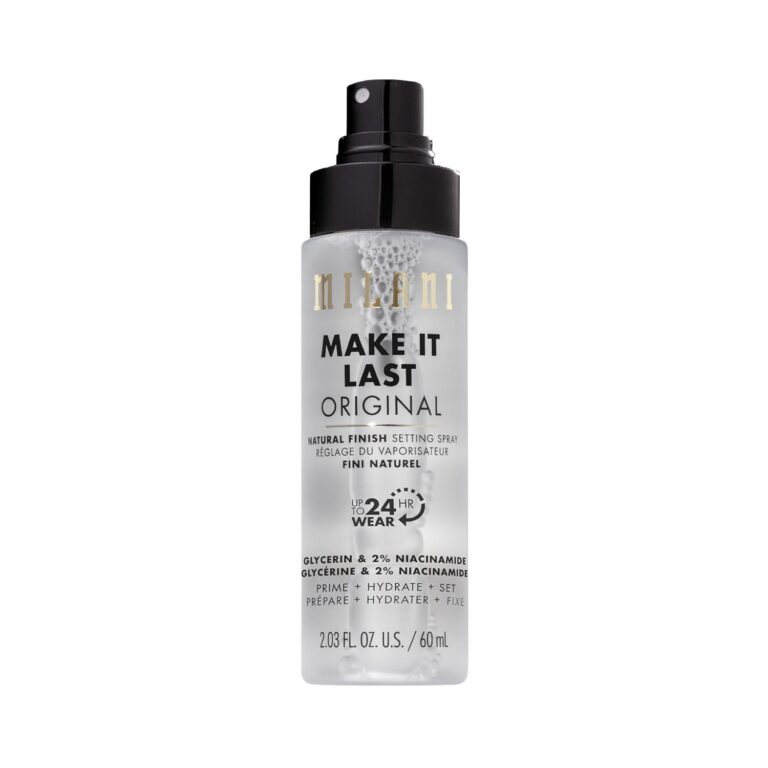
- Finish with a hydrating setting spray or facial mist to melt everything together and add dew.
Key overall principles
- Cream/liquid > powder for most steps.
- Light layers + good blending.
- Upward motions for lift.
- Focus product where it creates the most impact (brows, soft eye definition, healthy flush, hydrated lips) rather than full-face heavy coverage.
- Good lighting and a magnifying mirror help with precision without overdoing it.
This approach creates a polished, fresh look that works for everyday or soft glam. Adjust coverage and intensity to your preference and the occasion. If your skin is particularly dry or textured on a given day, lean even more into skincare and sheer products.